Let's Learn CSS Positioning
The layout of a web page is very important. When making the layout of a web page CSS is used to
style the web page. When styling the web page, by floating the different
elements to different places we can enhance the view of the web page rather than
document layout. To move the different elements through the web page by changing
the top bottom left and right alignment, we use CSS positioning.
Using the
‘position’ property we can activate positioning to the specific element. After
that using top bottom, left, and right properties we can position the
element.
There are
five positioning methods in CSS.
- static
position
- relative
position
- absolute
position
- fixed
position
- sticky
position
In this post, I am going
to cover the first four positioning values. Sticky positioning is someone newer
than other positioning values. I will cover it from my next blog.
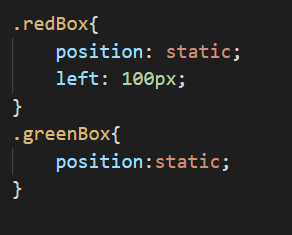
Static positioning
The default value of
positioning is static. If no positioning value given it is in static
positioning. So no need to set the position property and static positioning
value to the element to add the static positioning. It is in static positioning
default. And also top, bottom, left, right properties do not affect the
static positioning.

CSS:
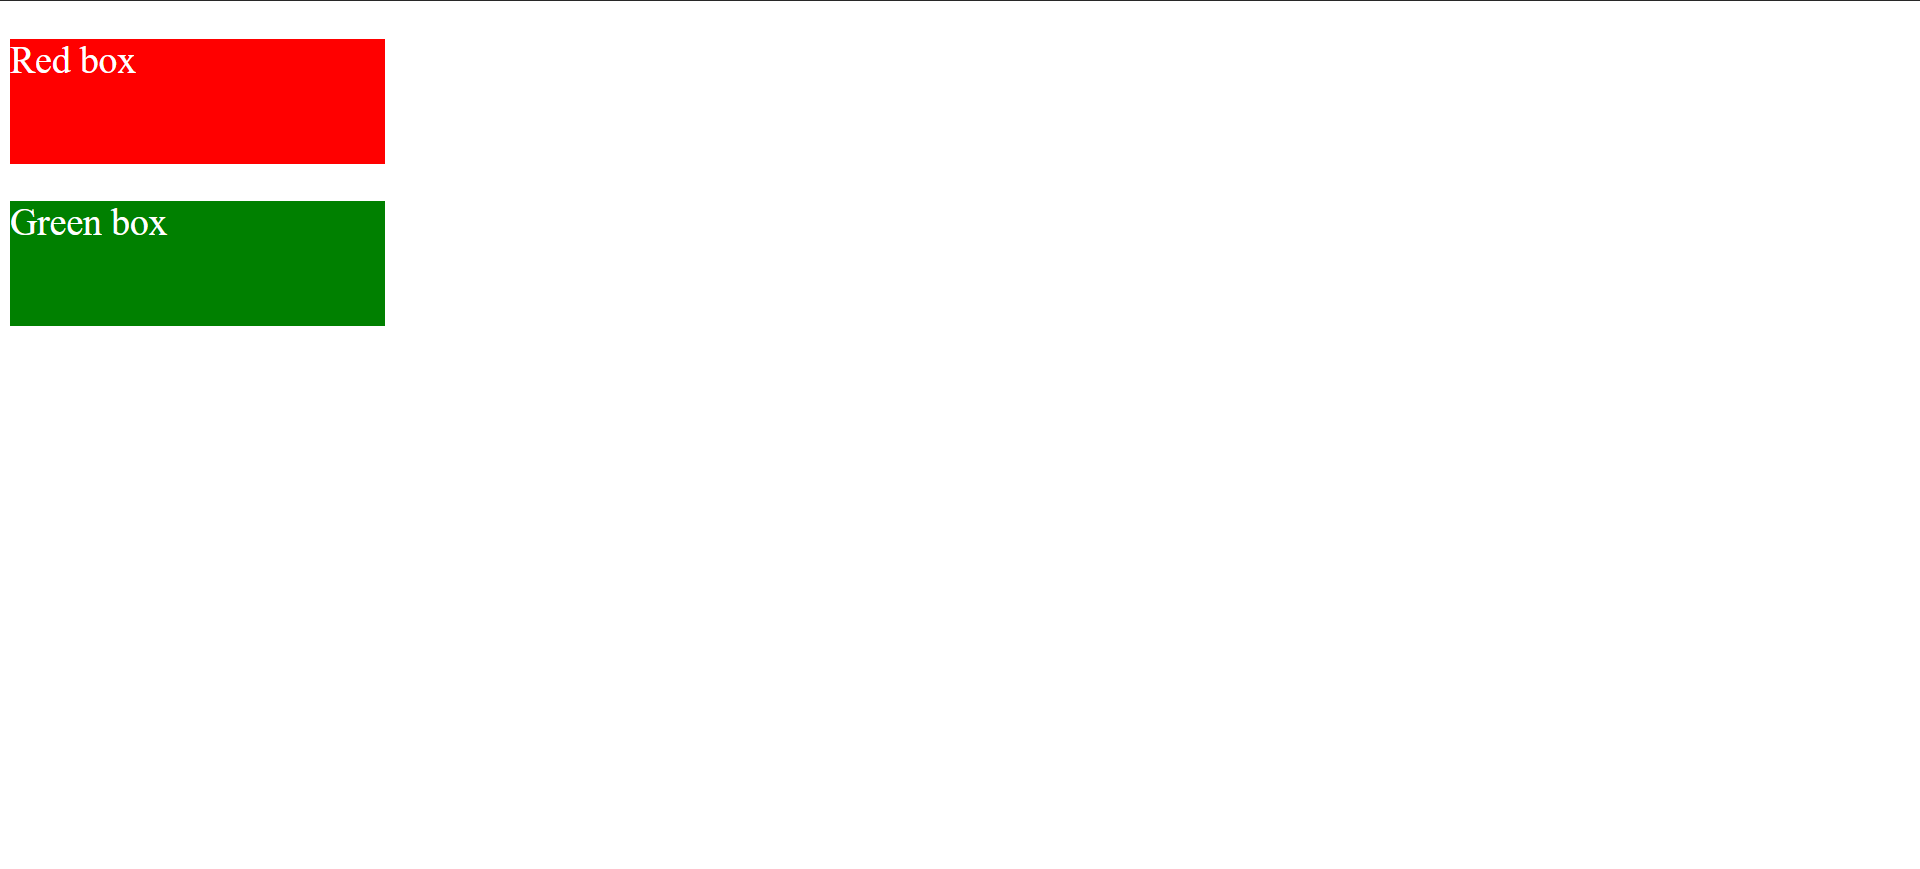
After adding the static positioning refresh
your browser and see the changes. You do not get any change. This left property does not affect the red box.
Relative positioning
As the name of this value, it can change the position of an element relative to its initial position. The top and bottom properties specify the vertical offset from its initial position and the left and right properties specify the horizontal offset from its initial position.
For the understanding, I do only the positioning part in the separate CSS file.
Other CSS parts I added to the HTML file as inline CSS.
First, you can see the red and green boxes in their default position. Then I add relative positioning value for the red box.

Then add the top, bottom, left, right properties we can change the
position of the elements relative to their initial position.
Now I float the red box 50px from the top and 100px from the left. You can see the change of its relative position.


Absolute position.
This positioning value is partially same as the relative positioning.
Deferent is in this positioning is change the position of an element relative to
the nearest positioned ancestor. If an absolute positioned element has no
positioned ancestors, it uses the document body. Then element moves along with
page scrolling. We can use top, bottom, left, and right properties with this
absolute positioning.


In this example, the red box in absolute position. You can see its position
changed relative to the nearest positioned green box.
Fixed Position
In this positioning, the element is positioned relative to the viewpoint(an area
that the user can see). It does not move, when we scrolling the page. There's no
space left where it would have been located in the page layout. Using the top,
bottom, left and right properties we can set the final position of the element.

Let’s see this example. I position the red box as fixed. Then you can see
when I scroll the page red box in a fixed position.


No comments:
Post a Comment